Creating quality content takes skill, creativity, and the right tools. Today’s YouTubers have access to powerful video editing software, each offering unique strengths to help your videos stand out. Here, we’ll highlight five favorite editing tools, from beginner-friendly options to professional-grade platforms. Then, we’ll transition to discuss Tiger Data Recovery, a lifesaver when you need to recover lost footage.
In this Article
ToggleTop 5 Video Editing Software Every YouTuber Swears By
1.Adobe Premiere Pro
——The Professional’s Choice
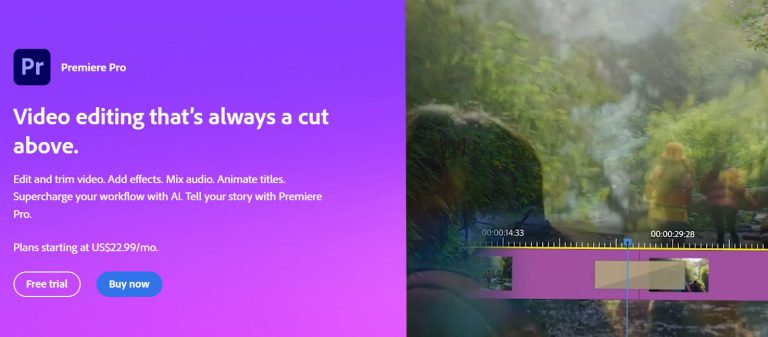
Adobe Premiere Pro is renowned for its comprehensive features and professional-grade tools. It’s used widely by content creators and professionals for its seamless integration with other Adobe Creative Suite products and its ability to handle everything from basic edits to advanced visual effects.

- Top Features: Multicam editing, VR support, advanced color grading, and seamless integration with After Effects
- Best For: Experienced editors looking for industry-standard tools and versatility
2. Final Cut Pro X
——The Ultimate Mac Experience
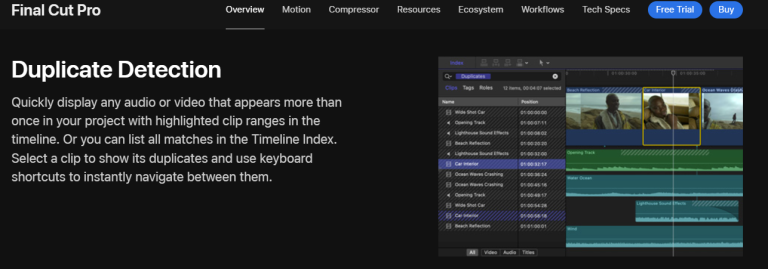
For Mac users, Final Cut Pro X offers speed and efficiency with an intuitive interface. It allows you to create high-quality content quickly, with powerful tools like 4K and 360-degree video editing.

- Top Features: Magnetic timeline, customizable motion graphics, and color grading
- Best For: Mac-based creators who want a balance of ease and power
3. DaVinci Resolve
——Exceptional for Color Grading
DaVinci Resolve shines in professional color grading and advanced post-production features. Its free version provides an array of high-end tools, making it a popular choice for YouTubers focused on cinematic quality.

- Top Features: Hollywood-grade color correction, audio post-production, and collaborative editing tools
- Best For: Creators with a focus on visual quality, especially those working with film-like aesthetics
4. Filmora
——Ideal for Beginners
Filmora’s simple, user-friendly interface makes it an accessible choice for beginners. It includes a drag-and-drop interface, a wide selection of effects, and easy-to-use transitions, allowing new editors to create polished videos without the steep learning curve.

- Top Features: Intuitive design, split-screen effects, and extensive transitions
- Best For: New editors or budget-conscious creators looking for essential features
5. iMovie
——Apple’s Free Entry-Level Tool
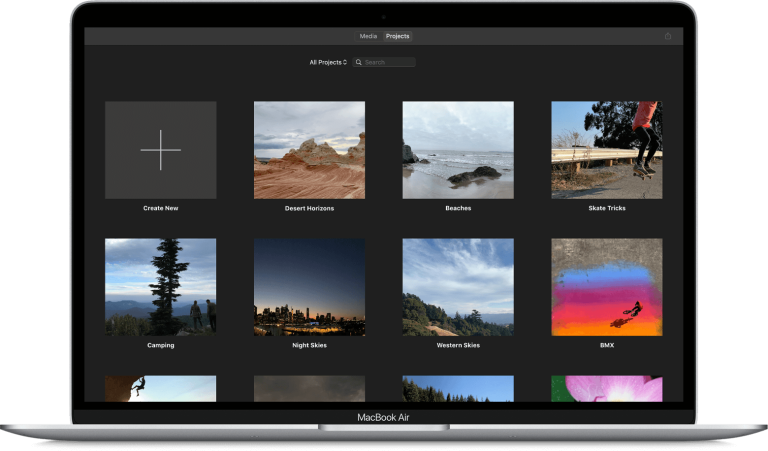
iMovie is a great entry point for those just getting started. With straightforward editing tools, it’s an ideal choice for creating quick edits on both Mac and iOS.


- Top Features: Simplified editing tools, green-screen effects, and video stabilization
- Best For: Apple users who want a free, easy way to produce quality content quickly
Seamless Solutions: Recovering Lost Footage with Ease
Creating engaging content often means capturing critical moments, but what if a file gets accidentally deleted or corrupted on your iPhone? In moments like these, Tiger Data Recovery comes in handy. This trusted software specializes in recovering lost videos, photos, and other data, ensuring your work is never truly lost. Below, we’ll guide you through recovering videos on your iPhone using Tiger Data Recovery.
How to Recover Videos with Tiger Data Recovery
When you need a reliable way to retrieve deleted video files, Tiger Data Recovery makes the process straightforward and secure. Follow these steps to restore your lost footage:
- Download and Install Tiger Data Recovery: Start by downloading the Tiger Data Recovery software to your computer and installing it. Ensure you have the latest version for compatibility.
- Connect Your iPhone to the Computer: Use a USB cable to connect your iPhone. Open Tiger Data Recovery on your computer and select the iOS Recovery mode.
- Choose Video Recovery: After selecting the device, navigate to the Recover Videos option. This will scan your iPhone for any recoverable video files.
- Preview and Select Files: Once the scan completes, Tiger Data Recovery will display a list of videos that can be recovered. Preview each file and select the ones you wish to restore.
- Recover and Save: Click on Recover to restore the selected videos to your computer. You can then transfer them back to your iPhone or keep them stored securely.


